
Sketching a bathroom remodel to scale in Krita or Procreate
Set up a scaled canvas, draw the plan and walls on named layers, and hand a remodeler a drawing that says what you want before the first meeting.
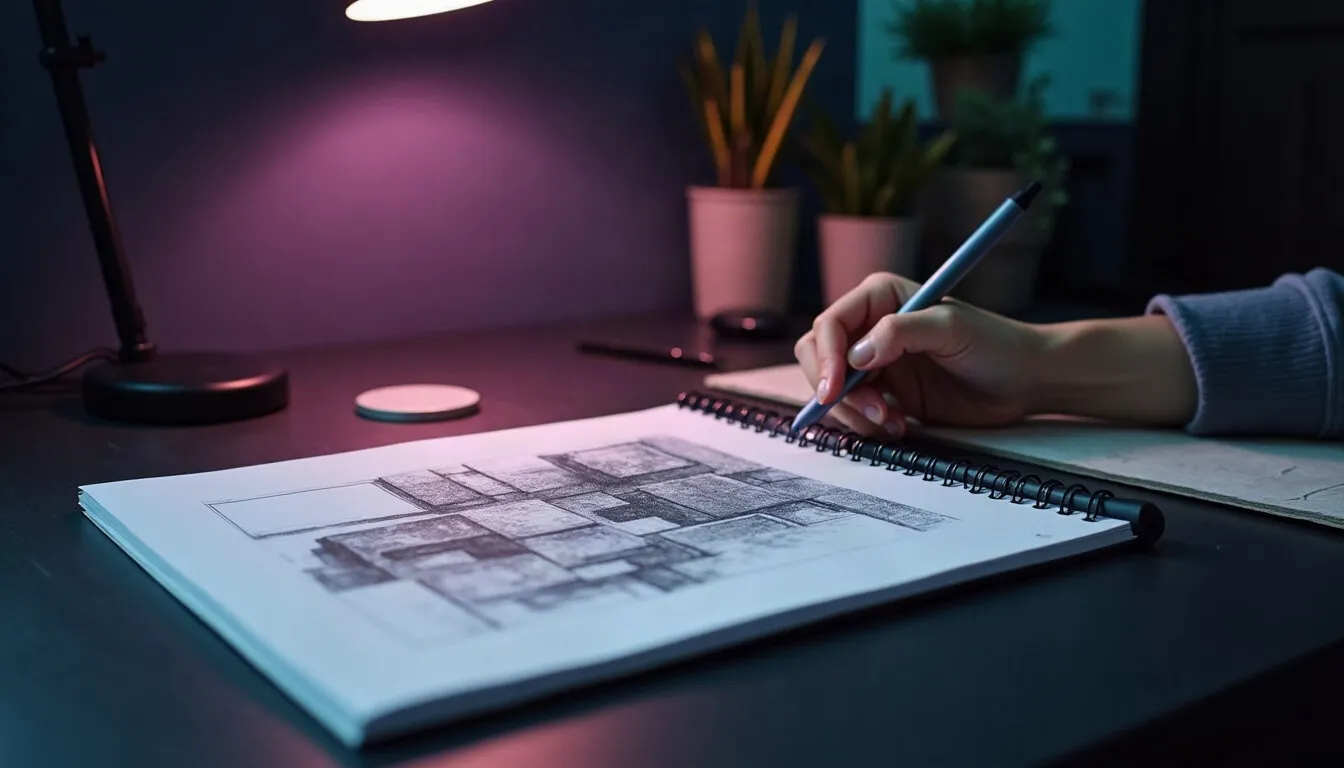
I once tried to explain a shower niche to a friend with my hands. It went badly. Ten minutes later a rough plan of her bathroom was open in Krita, and we finally understood each other.
Drawing a room you want to change is a very useful thing to do with your skills. From a loose tile mood board to a measured plan you can hand across a table, those sketches help any designer you talk to, whether that is a local company such as Toscani Interior Services Scottsdale AZ or a remodeler in your own town. This piece sorts out how to set up the file, how to draw the plan and the walls to scale, and which details to leave for the professionals.
Why a drawing beats a description
A bathroom is a small room packed with fixed decisions. The toilet sits where the drain is, the shower sits where the water lines can reach, and the door swing quietly decides everything else. When you describe a remodel in words, those constraints get lost. When you draw it, they stare back at you.
The other reason is less obvious. People who remodel for a living read drawings far faster than paragraphs. A plain plan with clear notes tells them what you want to keep, what you want gone and what you are unsure about. It also tends to make the first meeting shorter and the questions better.
You do not need architecture software for this. Krita, Clip Studio Paint and Procreate all handle it, as long as you set up the canvas with a scale in mind and keep your layers honest. What you are making is a communication drawing, not a construction document.
Pressure check
- Light touch: collect a dozen photos of bathrooms you like in a reference folder before you draw anything.
- Press firmly: decide on one fixed scale for the whole file and never break it.
- Lift off: fancy rendering, textures and shadows. Nobody needs them at this stage.
Setting up a canvas that stays to scale
Here is the part where my habit of opening every menu pays off. Before you draw a line, measure the room with a tape: wall lengths, door width, window position, where the tub or shower sits, where the toilet and vanity are. Write the numbers on paper first. Then pick a scale that makes the arithmetic easy.
I like 10 pixels per inch. It sounds coarse, but it keeps the sums in your head. Here is a worked example for a bathroom that measures 8 feet by 10 feet:
- Convert to inches: 8 feet is 96 inches, 10 feet is 120 inches.
- Multiply by the scale: 96 x 10 = 960 pixels, 120 x 10 = 1,200 pixels.
- Add a margin for notes on every side, say 150 pixels each: 960 + 300 = 1,260, and 1,200 + 300 = 1,500.
- Make the canvas 1,260 by 1,500 pixels at whatever resolution your app suggests. Resolution does not matter here, because you are counting pixels, not printing.
Now a 30-inch vanity is exactly 300 pixels wide, and a 60-inch tub is 600. If you turn on the grid and set it to 120 pixels, every square is a foot. In Krita the grid and guides live under the view settings; Clip Studio Paint has a ruler and grid setup in its view options; Procreate offers a drawing guide with an adjustable grid size in recent versions. Menu names shift between updates, so poke around rather than trusting my memory.
Then name your layers before you need them: walls, door and window, fixtures, plumbing notes, wish list, questions. It feels fussy, and it is why you will still understand the file in three weeks.
Pressure check
- Light touch: save a copy of the blank, scaled canvas as a template for other rooms.
- Press firmly: measure twice and draw the walls once, on their own locked layer.
- Lift off: matching your scale to any architectural standard. Your scale only has to be consistent.
Drawing the plan and one wall at a time
Start with the plan, the view from above. Draw the walls with a hard round brush, then drop in the door with its swing as a quarter circle. That arc is the most honest line in the drawing: it shows exactly where a vanity drawer or a towel bar will collide with real life.
Next, the fixtures, each on the fixtures layer as a simple shape. If you are thinking about turning a tub into a walk-in shower, draw both versions on separate layers and toggle between them. A tub-to-shower conversion is a common request, and seeing the floor space it frees (or doesn't) is worth more than any amount of imagining.
Then draw elevations, the walls seen straight on. Use the same scale. A typical sequence:
- Duplicate your canvas and rename it for the wall you are drawing, such as "shower wall".
- Draw the floor line and the ceiling height measured from your notes.
- Add the window, the fixtures and the niche or shelf you want, at their real heights.
- On a separate layer, sketch tile patterns lightly. Keep it to outlines and a hint of value.
If you want one perspective drawing for the mood, make it the last thing you do. A simple two-point perspective from the doorway, with the vanity on one side and the shower on the other, gives everyone the feeling of the room. Keep the plan as the source of truth.
On the wish-list layer, write plain notes: "bigger shower, no curb if possible", "more storage than this", "warmer light at the mirror". On the questions layer, write what you don't know: "can the drain move?", "is a niche possible on this wall?". Those questions are for the remodeler, not for you to answer.
The details artists tend to miss
Artists are good at shapes and color, and less good at the things a room does when nobody is drawing it. A few habits help.
Draw clearances, not just objects. A vanity is not only its cabinet; it is the space in front of it where someone stands and opens the doors. Shade that zone lightly on a separate layer. You will see quickly where the room gets tight.
Mark what is behind the walls as unknown. Pipes, vents and wiring are not yours to place. Put a neutral gray hatch on any wall you hope to change and label it "check with the remodeler". That one convention prevents a lot of disappointment. Moving plumbing, changing electrical and altering anything structural is licensed work, and a professional will tell you what is possible after they look at the actual room.
Think about light in a dry, bright climate. In a place like Scottsdale, the daylight through a bathroom window can be harsh in the afternoon and the room may run warm. Sketch where the sun comes in, and note whether you want frosted glass, a shade or a smaller opening.
Keep color separate from structure. Put tile and paint colors on their own layer, so you can swap a warm sand palette for a cool gray in seconds without touching the plan. Screens shift color, so treat these as direction, not as final picks. Real samples in the room, in daylight and at night, settle that question.
Export a clean copy. When you share the file, flatten a duplicate and export it as a PDF or a high-quality JPEG, with the notes layer visible and the scrap layers hidden. Keep the layered original for yourself.
Here is a small table of what to include in each view, so nothing gets drawn twice:
| View | Include | Leave out |
|---|---|---|
| Plan | walls, door swing, window, fixtures, clearances | tile pattern, color |
| Elevation | heights, niche, mirror, window, tile outline | plumbing routes |
| Perspective | mood, light, materials | measurements |
Pressure check
- Light touch: add a small legend in the margin that explains your gray hatch and your colors.
- Press firmly: label every guess about pipes, wiring or walls as a question, not a plan.
- Lift off: perfect line weight. A clear wobbly line beats a beautiful wrong one.
Before you put the pen down
A scaled drawing will not design your bathroom, and it is not meant to. What it does is turn a vague wish into something a professional can read, question and improve. The plan shows the constraints, the elevations show the heights and the perspective shows the mood. Everything structural, every pipe and every wire stays with the people licensed to touch them.
Today, before the tape measure goes back in the drawer, set up one blank canvas at 10 pixels per inch with six named layers, and draw nothing but the walls and the door swing. That single layer is the hardest part. Everything after it is drawing, which you already know how to do.

Idris Kalu
Idris likes opening every menu in a program before deciding what it is good for. He writes about Krita, Clip Studio Paint, file formats, canvas sizes and preparing work for print.
More from the same shelf
Value studies in grayscale before color
Plan a picture in three to five grays, test it with a squint and a grayscale check layer, then bring in color with blend modes without losing the read.
Open the piece →
Getting canvas size and DPI right for print before you start
How to turn a print size into pixels before you paint: the one formula, worked examples for 8 x 10 and A4, bleed, aspect ratios and what 300 DPI really means.
Open the piece →
Layers and blend modes for painters who hate menus
Multiply, screen, overlay, color, clipping masks and alpha lock explained for painters, with a short layer workflow that keeps a painting tidy and editable.
Open the piece →